Disclaimer: This article contains links to Amazon.com as a part of the Associate’s Program, an affiliate advertising program designed to provide a means for us to earn advertising fees by linking to Amazon and affiliated websites.
With the rapid expansion of the cryptocurrency industry, despite its occasional setbacks, an increasing number of people want to earn crypto for themselves through mining it, but not everyone is as tech-savvy as experienced mining rig builders.
With this in mind, Finbold has assembled a list of mining hardware components, as well as the main steps required for any beginner to build their first mining rig from scratch and start mining that crypto with the help of experts at YouTube channels Mining Chamber and The Hobbyist Miner.
Unless you plan on using a pre-made solution, building a crypto mining rig, such as for mining Bitcoin, requires proper equipment, mining software, and plenty of patience. Let’s begin with the components:
GPUs
Graphical processing units (GPUs) are the most important part of any mining rig, and their number depends on the desired hash rate. A beginner would do fine with two, such as Gigabyte GeForce GTX 1070 G1 and/or MSI Gaming GeForce GTX 1070 Ti.

CPU
Alternatively, crypto mining can be carried out using just a central processing unit (CPU), but it needs to be a high-end one in that case. That said, using GPUs for mining only requires a moderate CPU, such as an Intel Core i5-9400.

Motherboard
Just like a personal desktop computer requires a motherboard, so does a mining rig. In this case, the motherboard of choice needs to be capable of supporting the right number of GPUs planned for mining, as well as scaling. Examples include ASUS Prime Z370-A and ASUS Prime Z390-A.

RAM
Short for random access memory, RAM is essential for a mining rig because it temporarily stores data while the rig is running. The mining rig needs to have enough RAM to account for all the data used by the GPUs, hence Patriot Viper Elite II DDR4 4GB(1 x 4GB) 2666MHz DDR4 is one of the choices.

Data storage
Depending on how much mining activity you intend to handle, storing the mined data requires a hard drive or an SSD with a minimum capacity of 240GB, say a Samsung 860 EVO SATA III 250GB 2.5 Inch Internal SSD.

PSU
To power a mining rig, one needs a power supply unit (PSU) that can support the mining rig’s other components, which means it needs a 1200w platinum rating, such as Straight Power 11 Platinum 1200W or Corsair HX1200i, 1200 Watt, 80+ Platinum Certified.

Other accessories
Finally, building a mining rig will require a few additional components, including a mining rig frame, USB risers to elevate the GPU from the motherboard, an internet connection (Ethernet cable or Wi-Fi adapter), a 5GB+ flash drive, and at least 20 zip ties.

Also, let’s not forget the crucial software components: mining software like EasyMiner or CGMiner, an operating system (like Rave or Hive), and a crypto wallet where the mined crypto is stored.
Main steps to building a mining rig
After all the components have been gathered, it’s time to start putting them together:
1) Assemble the frame
The frame is the spine of a future mining rig, so it needs to be sturdy and set up properly.

2) Attach the processor to the motherboard
Carefully connect the CPU to the motherboard using the dedicated pins.

3) Install RAM
Place the RAM module into the motherboard’s RAM slot after separating the side brackets.

4) Fix the motherboard to the frame
Now that the motherboard is equipped with the processor and RAM attach it to the mining rig frame.

5) Attach the SSD
Carefully position and attach the SSD to the mining rig frame.

6) Install the PSU
Attach the PSU to the mining rig frame and connect it to the motherboard close to the processor.

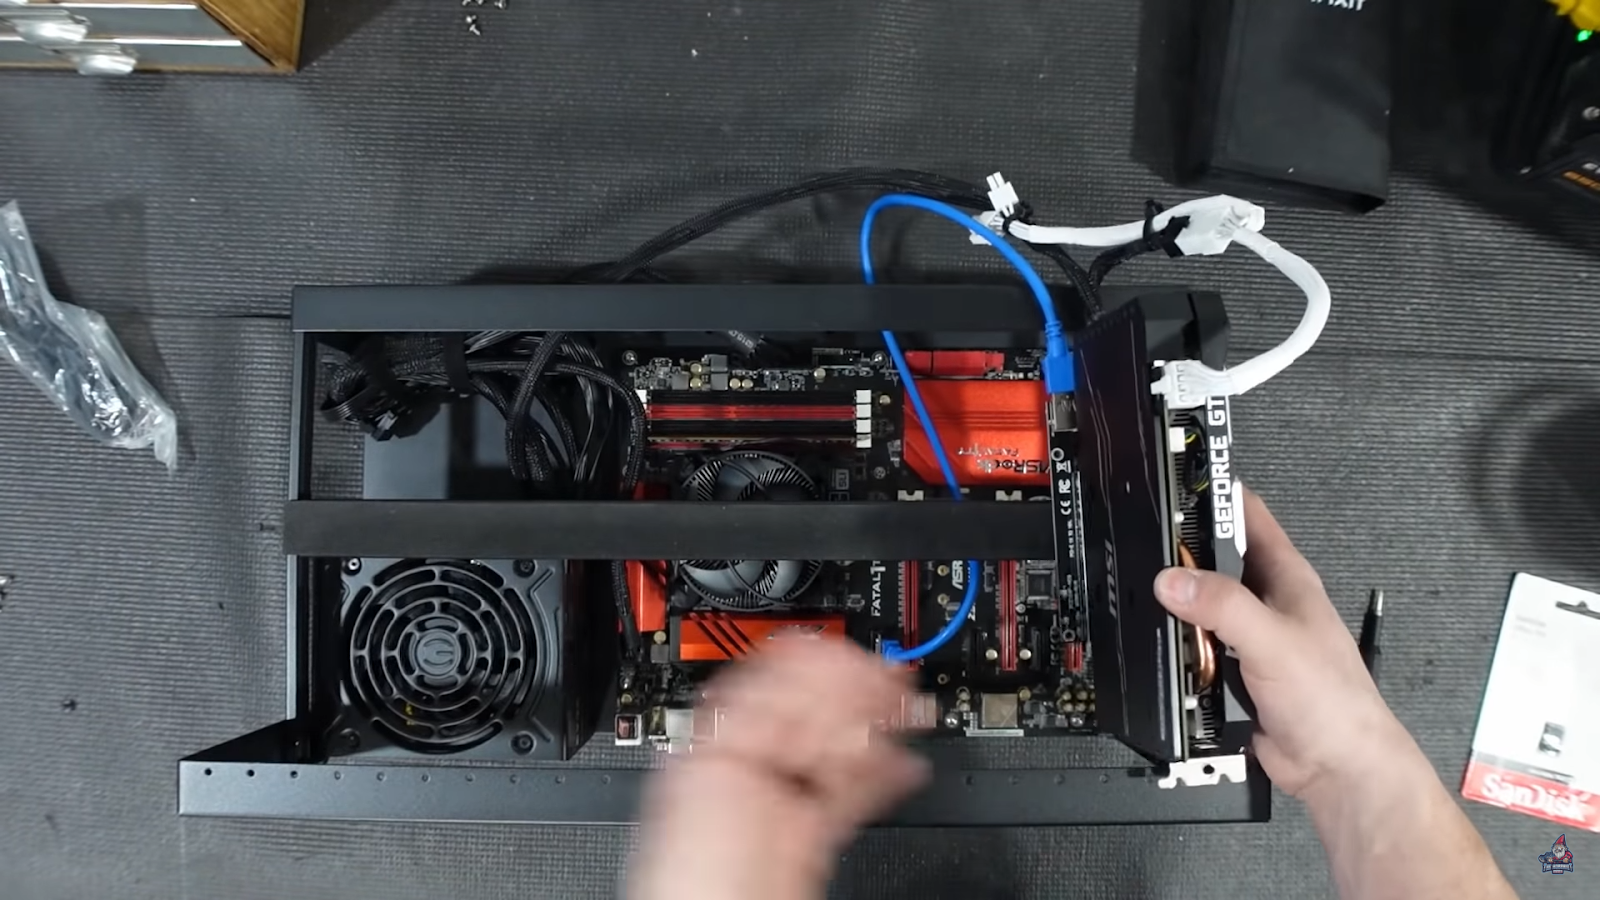
7) Connect USB risers
Place USB risers into the dedicated PCI slots on the motherboard in order to connect the GPUs.

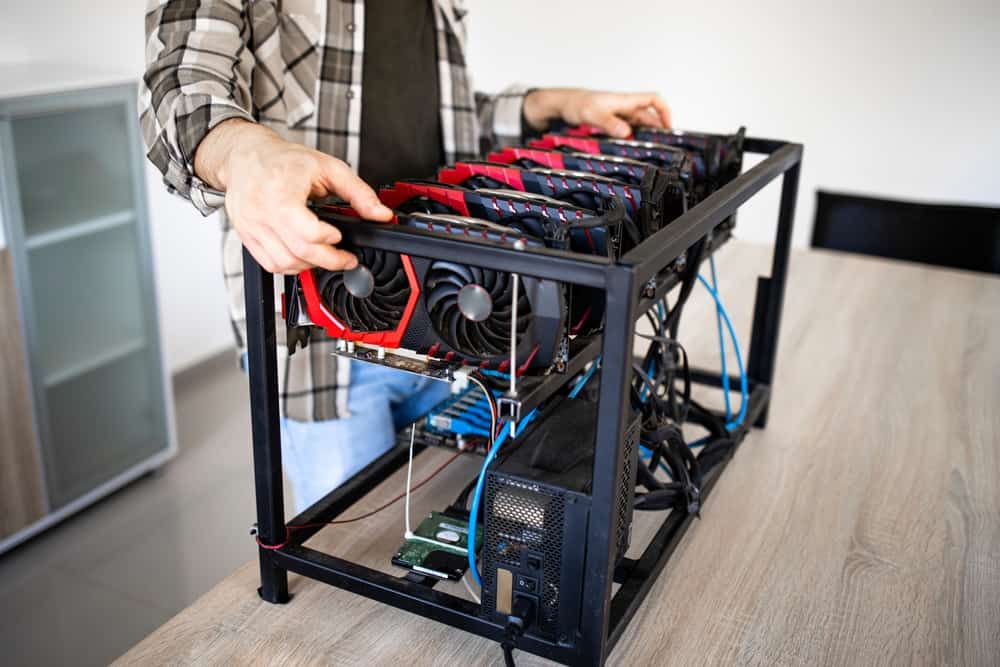
8) Attach GPUs
The final step in assembling the crypto mining rig is securing the GPUs to the frame with USB risers, as well as plugging in the PCI-e 6+2 power connectors.
More eco-friendly alternative
For those who would prefer an option that is more environmentally friendly, building a mining rig operating using solar power is an option. However, such an endeavour would require a bit more expertise than building a traditional version.
Watch the video walkthroughs below: